Sunday, November 17, 2019

Just a number

Hello crafty friends. I wanted to share this card,  a shaker card I made for a friend who is turning 50. To start off, I made the card base using novo shimmer powder , spritz water and heated with my heat gun. Coloured my image in copic markers. The sentiments, "fabulous and 50, I diecut from glitter cardstock. The remaining sentiment, "its your time to shine" I heat embossed using catherine pooler embossing powder. For the shaker element, I stacked 5 die cuts from mft nested rectangle dies, and sandwiched a clear packaging for me window.

Here is the finished card, hope you like it:

Supplies used: Uptown girl Stampingbella stamp
                        Fabulous die and 50 Ellenhutson
                        Nested rectangle frame die MFT
                        Nuvo shimmer powder -fallingleaves
                      (thank you inkyandstampy.com for sharing some supplies and introducing me to shimmer powders. Loved it.)

Entering this card for the current challenge at #7:
        
Thanks for stopping by and happy crafting!
Clarissa


Monday, October 28, 2019

Fall shaker card!

Hello crafty friends. Sorry I have been missing in action these last two months due to life stress. But I'm back and so relieved to be crafting again and sharing what I love. This is the card I made using My Favourite Things Fall Friends. 
I started by stamping the unicorn image in versa mark ink all over the panel and embossed it in WOW white embossing powder. Then inked the background with  distress inks honey mustard and carved pumpkin. Then cut out the front panel using MFT Stitched dome STAX die-namics and adhered the shaker window made from recycled plastic packaging and dome frame dies. Shaker elements were from Nuvo confetti.
For the inside panel, I coloured my images with Zig clean colour brush pens (thank you Julie for letting me play with these). I did a lot of masking to create my scene.
I have stamped a sentiment to finish off my card. 
I am entering this card in the following challenges:
 
and 
Thanks for stopping by and happy crafting!
Clarissa


Tuesday, August 13, 2019

Made in Minutes - Challenge #146

Hello fellow crafters. Just stopping by to share a card I made using the adorable sunny studios stamp Tropical Paradise. This stamp was what I had in mind as soon as I saw the "optional twist summer."
I coloured my images with my Arteza brush markers using the wet on wet technique. Here is my card.
For the background splatters, I used the Just Because stamp set from Concord and 9th. I love the idea of a cool drink to quench our summer thirst. Here is the sketch for this challenge.
Thanks for stopping by and happy crafting.
Clarissa

Monday, August 5, 2019

AAA Birthday Challenge - Game#4 For the Boys!

Hello crafty friends. Today, I am honoured to be given the opportunity to guest design for AAA Birthday Card Challenges, Game #4, For the Boys, as we always need male card designs.


For this challenge, I was inspired by my step sons who love fishing. The best part is that we get to be blessed with fresh fish after their catch of the day. Here is my finished card.

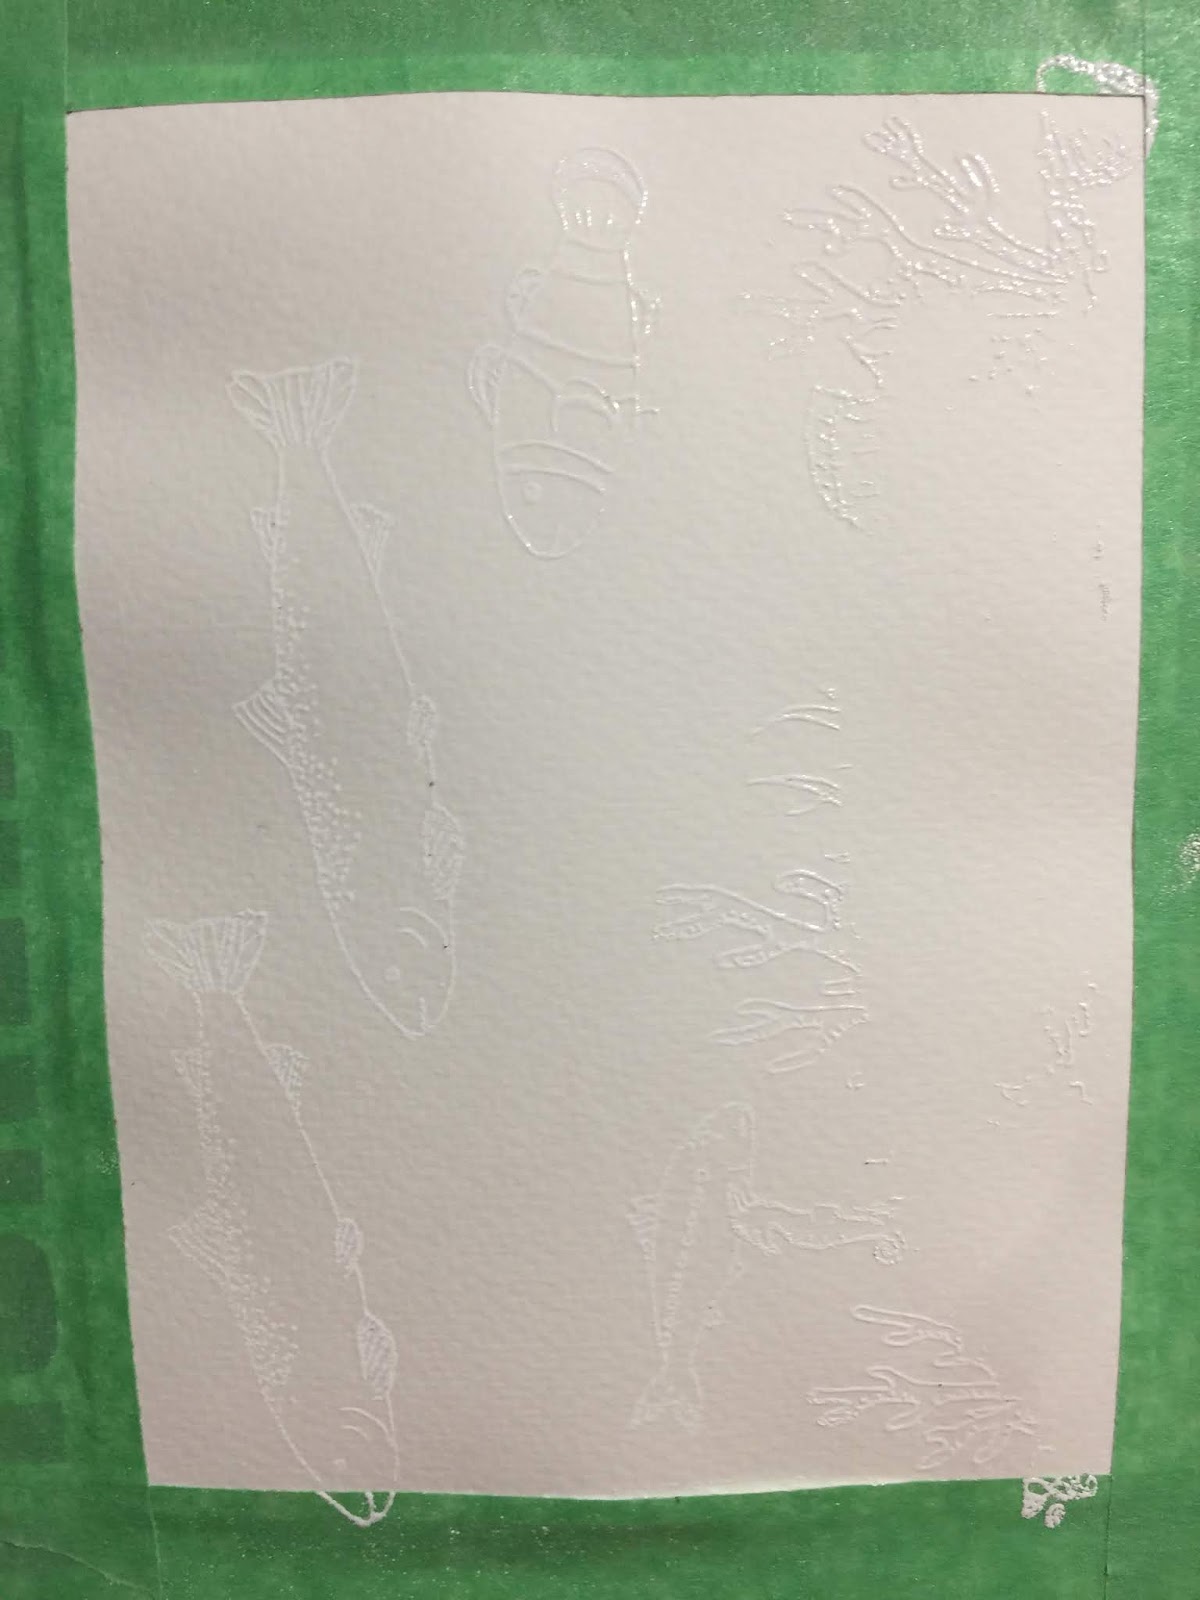
I made this card by die cutting a 4" x 5 1/4" water colour card using SSS Bundle of Stitched shapes. Then, stamp embossed in white fish images from Studio Light Ocean View stamp set. I coloured my water colour panel using the smooshing technique from Ali Farmer's Youtube video (thanks for your helpful tip). Colours are shown below.

I spritzed water on the stamp block and got an acetate and smooshed this on the colours which I had transferred onto my panel repeatedly to get good colour coverage.
I just added one colour at a time depending on how dark or light I wanted my finish panel to look like. In between layering colours, I used my heat gun to dry the paper quickly.
This is the finished panel once dried.
I got a striped paper which I adhered onto my kraft card base.
Then decorated my card by colouring this Gone Fishing Digistamp by Nana Vic with my copic markers.
Fishing rod: C9, C5, C3 Handle: E37, E35, E33
Basket G99, G94, G43 Cane: E15, E33, E31, E00
Sentiment is a freebie
To finish off, I added a fishing hook for added effect.

Thanks for stopping by and hope you join us in this game #4 challenge, For the Boys. I can't wait to see what you come up with. Feel free to check out what the talented design team has come up with for this challenge.
Hugs and happy crafting,
Clarissa


Sunday, August 4, 2019

Handlettering God's word!

I remember having to do handwriting drills in school. Now that I have recently found an interest in hand lettering and calligraphy in God's word, this drill has been useful. I can also incorporate this lettering in my handmade cards.
I am really rusty, bit that is okay, as this is part of my learning. The greater blessing is that I am returning to bible journalling and incorporating my art into it, while reflecting deeper on God's word.
I have borrowed some hand lettering and calligraphy books from the library and did this after reflecting on 2 Chronicles 7:14. A call to revival for myself, my family, colleagues, our nation and our world.
Thank you for dropping by and may you be blessed. Hugs and happy crafting.

Friday, August 2, 2019

Encouragement Card Hop!

Hello crafty friends, first of all, a big shout out to Courtney Kreeber, Mary Polanco, and Jenn (Scrapbena Creations) for this awesome collaboration, and I am thrilled to have the opportunity to be joining this hop. If you have come from the talented Katrina Howe (video) , you are in the right place.


For this hop, I decided to use a MFT Brilliant Blooms stamp set and used my Altenew 36-pan watercolour set. I got so engrossed making this card that I forgot to take photos of each steps (really sorry about this!). Here is my finished card
To make this card, I started off by stamping my images using tattered rose distress ink similar to a photo below.
I learned this tip from Debby Hughes that you can stamp an image using the same color of the flower you are colouring. In this instance, I had chosen red and orange tones, so this color was safe. I did not bother masking my flowers as the stamp image is light anyway.
I made a color swatch for my watercolours first, as these helped me choose close colour combos as shown here
I started off using Sunkissed for my base layer. Then progressed to Orange Cream. For the highlights, I used Autumn Blaze. For the other petals, I used the same base, but added Grapevine and Crimson., and just Grapevine for the highlights.
For the leaves, I kept it simple by only using a light and dark shade of green (Forest Glades for highlights and Frayed Leaf for the base)
Here is the detail of the leaves as shown

For the flower centres, I used Warm sunshine.
To add more highlights, I used my prismacolor pencils for extra pop. The breakdown of colors are shown below:
Orange petals: Yellowed orange, Burnt ochre, Cadmium orange
Dark pink flowers: Magenta, salmon pink,  blush pink and hot pink 
Leaves: Apple green
To finish off my card, I water washed the remaining background and added splatters. I used the same tones, but just added brown or dark green. Then stamped the sentiment "weeping may endure for a night, but JOY COMES IN THE MORNING." I love this sentiment as this is so encouraging. This is from Sweet n Sassy Stamps Be Encouraged
Remember to spread the love and kindness throughout the hop. Next stop is the talented Cindy Higgins (video).  Thank you for stopping by and happy crafting!
Clarissa


Sunday, July 21, 2019

Freshly Made Sketches #397

Hello friends. I am back with a quick card using the cute and adorable images "Portrait Pals" from Hello Bluebird Stamps. I am entering this into Freshly Made Sketches #397. To start off, I coloured these images with my Arteza Real Brush Markers. Cut the images using my scan n cut machine. For the background, I used distress oxide in shades of broken china and twisted citron. Then I die cut three circles in the middle from the Simon Says Stamp die bundle of stitched shapes. Afterwards, I adhered my left strips at the top and bottom, to follow the current sketch, and cut around the parts where it hid the circle. I mounted my card base on another white card using foam tape to make the middle circles look recessed. Then I foam mounted my images on each of the circles. To finish off, I stamped the sentiment onto white cardstock, this sentiment is from 'Story friends." Here is my finished card. (sorry, I forgot to take photos while making this card).
Here is the current sketch
Thanks for stopping by. Love and hugs,
Clarissa


Saturday, July 20, 2019

AAA birthday challenge - Game #3 For the Girls

Hello everyone. I'm back with a card to share with you for the current challenge at AAA birthday card challenge.  For this challenge, I chose a very sweet and happy image from Sherri Baldy's shop(sorry, I couldn't remember the name of this stamp). First, I coloured my images with copic markers. Then, I decided to leave most of the background, white, except for dotted shapes around the image. To finish off my card, I stamped a "Happy birthday" sentiment from SimonSays Stamp Beautiful flowers.  I adhered this to a white panel and finished off, die cutting some decorative borders die from  Uniquely creative.  Here is my finished card.
Here is the sketch for the current challenge. There is still time to add your lovely work.
Thanks for stopping by. Love and hugs, and happy crafting.
Clarissa


Wednesday, July 17, 2019

AAA Cards Game #144

Hello friends. I have been so busy lately but glad I managed to make this simple card to fit the new challenge at AAA Cards (Clean and simple challenges). For the challenge, I coloured this free image called 'Christmas Owls' from Di's Digital Stamps (aren't these the cutest?) with my copic markers. Of course, I couldn't resist the optional twist Christmas in July, a great way to start making my Christmas cards. To finish off my card, I scored a line around the edge of my card and stamped my sentiment from an MFT stamp before adhering it to a white card base.
There is still time to join the challenge. Here is the image challenge.
Thanks for stopping by. Hugs and happy crafting.
Clarissa


Friday, July 12, 2019

Kit and Clowder - Peacock Bonus Class

Hello friends, I am stopping by to share this image I have coloured using my copic markers. It was a real challenge making fine lines as I accidentally printed the image way smaller than a 5 x 7," (but I got good practice in the end, as I persevered.
Once coloured, I fussy cut the image and adhered it to a white panel dry embossed with Altenew's sunburst stencil, which I think blended well with the image. Heat embossed the word "beautiful" using Hero arts copper embossing powder. Card size is 5 1/2 x 5 1/2"
Thanks for stopping by and happy crafting.
Clarissa


Wednesday, July 10, 2019

Divine Diving Spot! - Lawnfawnatics challenge

Hello friends, when I thought about how best to capture the current challenge - 56 Beautiful beaches, I thought of underwater scenes. Though I live here now in New Zealand, I come from the Philippines where it is also famous for diving and snorkelling spots. For my card, I decided to follow Jennifer Mcguire's Youtube video featuring Inside tunnel cards. I was so inspired by her examples and how you could do layers like a 3D effect. (Thank you Jennifer!)


I decided to use the Lawn fawn Lift the flap circles for the front of the card as I am viewing it from a window of a large submarine., so I heat embossed clear bubbles all around my card, with waves and a little fish saying hello to the diver. When you open the flap, you see the 3D layers.
You can also open the front of the card to reveal the fun action inside. 
I also used the colour combos from the challenge for my card. 
Stamp sets: You are sublime, 
Dies: Stitched wave borders, Lift the flap circles
Images coloured with copics

Thanks for stopping by. Love and hugs and happy crafting.
Clarissa


Tuesday, July 9, 2019

Birds and Blooms - Sweet n Sassy Stamps

Hello friends. Just wanted to share a quick post with this card I made for the July CAS Card Lottery.
To color my image, I used my copics. I found it challenging to color the cherry blossoms, so I googled an image, and this helped me choose colours from my copic colour selection. I did the same thing with the bird. Such a handy tip if you are out of ideas what to colour your images, go to google. To finish off, I used a stripey card panel from my paper stash. Here is my card. Hope you like it.
Thanks for stopping by. Happy crafting,
Clarissa

Wednesday, July 3, 2019

An Easel card

The male room Challenge 114. For this challenge, I am sharing an easel card using an old Stamping Up stamp set called Seaworthy. When I was looking for stamp sets, I realised I hardly had any masculine stamp.
To create this easel card, cut 8 1/2 x 51/2" card base scored in half, like a standard card. To make the sides, cut 1 1/2" from the edge to the score line. For the middle part, score in the middle to make a folded flap. Then, choose your images to either stamp and colour.
Add designer paper to all the panels in the colours you like. I chose paper that I had on hand that was masculine. Then, distress inked a bit on the sides. Make sure that the centre image fits the panel, only adhering foam tape to the lower flap. To make the easel stand, I mounted the sentiment with foam tape. Then, at the back of the easel, I taped a 10c piece for my paper weight to give the easel more stability. I decorated my easel with twine and silver brads.

The Male Room Challenge 114- Multiple Layers
 This is also for Day 18 of The Daily Marker 30 Day Challenge. Thanks for stopping by.
                                                        Love and crafty hugs, Clarissa